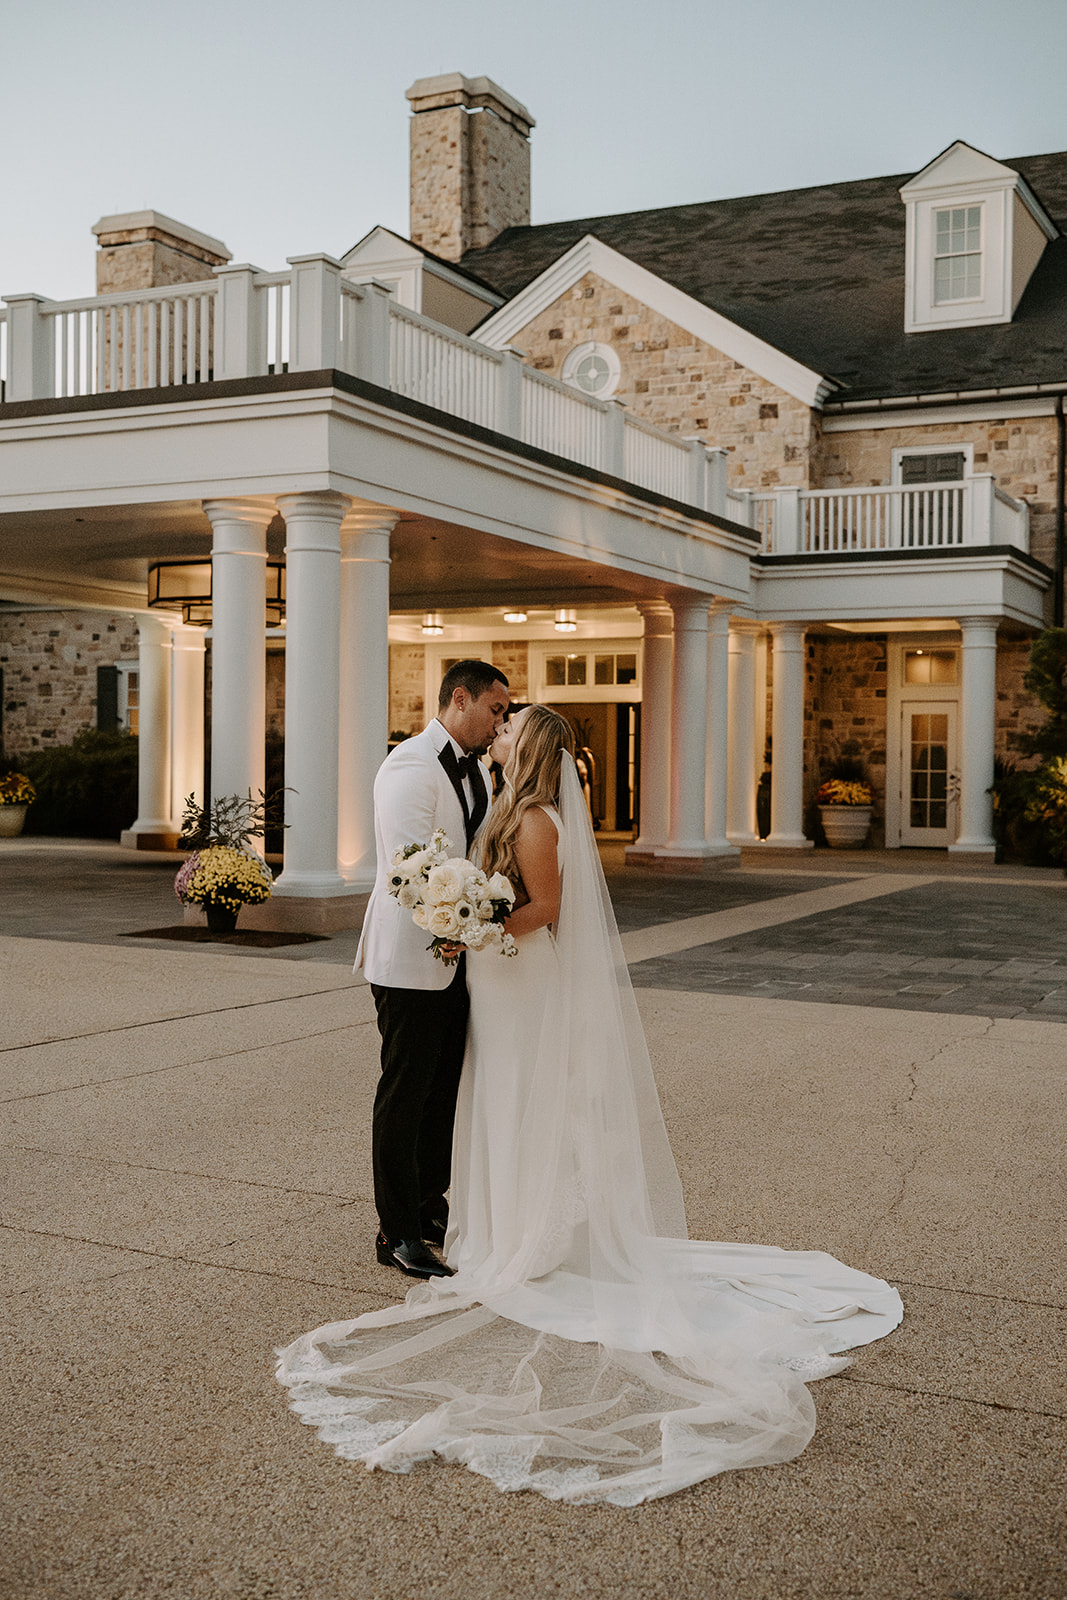
Creating your wedding website doesn’t have to be complicated! Here is a step by step guide, featuring examples from one of our very own A+ brides, to creating a wedding website that answers all of your guests questions- let’s get started.
STEP 1: CHOOSE A WEBSITE OPTION
Take a look at each option to see if you like the template options and features, or you could also create your own on a different platform, like Wix or Squarespace, if you are really tech-savvy!
STEP 2: CHOOSE A TEMPLATE
Many couples choose a template based on what their invitations will look like, but you don’t need them to match. Choose a template that has your wedding colors, a cool design, or just one that you think looks pretty- remember you can always change it!
STEP 3: CREATE YOUR HOMEPAGE

Your homepage should include the following tabs:
-
Home
-
Schedule
-
RSVP
-
Travel/Hotel
-
FAQ
Option tabs can include:
-
Wedding Party
-
Photos
-
Registry
-
Things to Do
Include your wedding date and location directly on the homepage so guests see it!
STEP 4: THE SCHEDULE

Include a cute picture of you two from your engagement session!

Include any transportation information and the address to the venue. This is also a great place to put your dress code!
STEP 5: TRAVEL
Before you send out Save the Dates, make sure you have a hotel block booked. If you don’t have a rewards points program set up through a hotel chain, consider doing this for your wedding block so you can earn points towards your honeymoon!


STEP 6: RSVP

Make it easy for guests to RSVP online- don’t forget to follow up with guests who might not be as tech-savvy!
STEP 7: FAQs
This is one of the MOST IMPORTANT sections on your website, especially if you want to reduce the number of questions you can from guests.
Here are the top 5 questions you should answer on your FAQ part of you wedding site:
WHAT SHOULD GUESTS WEAR?
- Include information about your dress code (give some examples!) and if there is anything specific about the type of footwear you recommend. If you are getting married on a beach or on uneven ground- let your guests know!
-
This is a personal preference, but if you don’t want the little ones there you can use this wording: “We love your kids—we really do. While we will have a few select family children included in our wedding festivities, we really want our wedding to be your night off!”
IS TRANSPORTATION PROVIDED?
-
If your guests are going to be drinking heavily, or your venue is far from your hotel, consider transportation for your guests.
IS PARKING AVAILABLE?
-
This can be the difference between guests arriving on time or not. Let them know if you have a valet, if there is a parking garage nearby, or if parking is readily available.
WHO DO I CONTACT WITH QUESTIONS?
-
Whether this is your wedding planner, family member, or your wedding party, make sure guests know who to contact with questions about transportation, food allergies/restrictions, or RSVP questions.
STEP 8: THE EXTRAS
-
Wedding Party: As a planner it is SO helpful when you include photos of your wedding MVPs. It also makes your wedding party feel really special! You can include a cute story about how you met or what you love about them!
-
Photos: Show off your cute engagement photos, a picture you took on vacation, you with your pets, or the first photo you have together.
- Registry: Remember that your registry information can go directly on your wedding shower invite- but do not put it on your wedding invitation-just put your wedding website! Include items that you will actually use, replacements for old items, or you can ask for $$ towards your honeymoon!
- Things to Do: Include your favorite sushi bar, the best place to grab a local brew, or a cool brunch spot- give recommendations for families if you are inviting children!
Here’s your cheat sheet to make sure you have everything listed…